Hey there, fellow bonsai enthusiasts! Today, we’re diving into the captivating world of the Japanese Black Pine. This remarkable species is a favorite among bonsai cultivators, and guess what? Contrary to its intricate appearance, taking care of a Japanese Black Pine is a breeze. So, grab your favorite drink and put on your gardening hat, as we walk you through the step-by-step care schedule for your bonsai, from the lively days of spring to the serene winter months.
Japanese Black Pine Bonsai Schedule Care Guide
Table of contents:
*click above to jump to the topic
Introduction
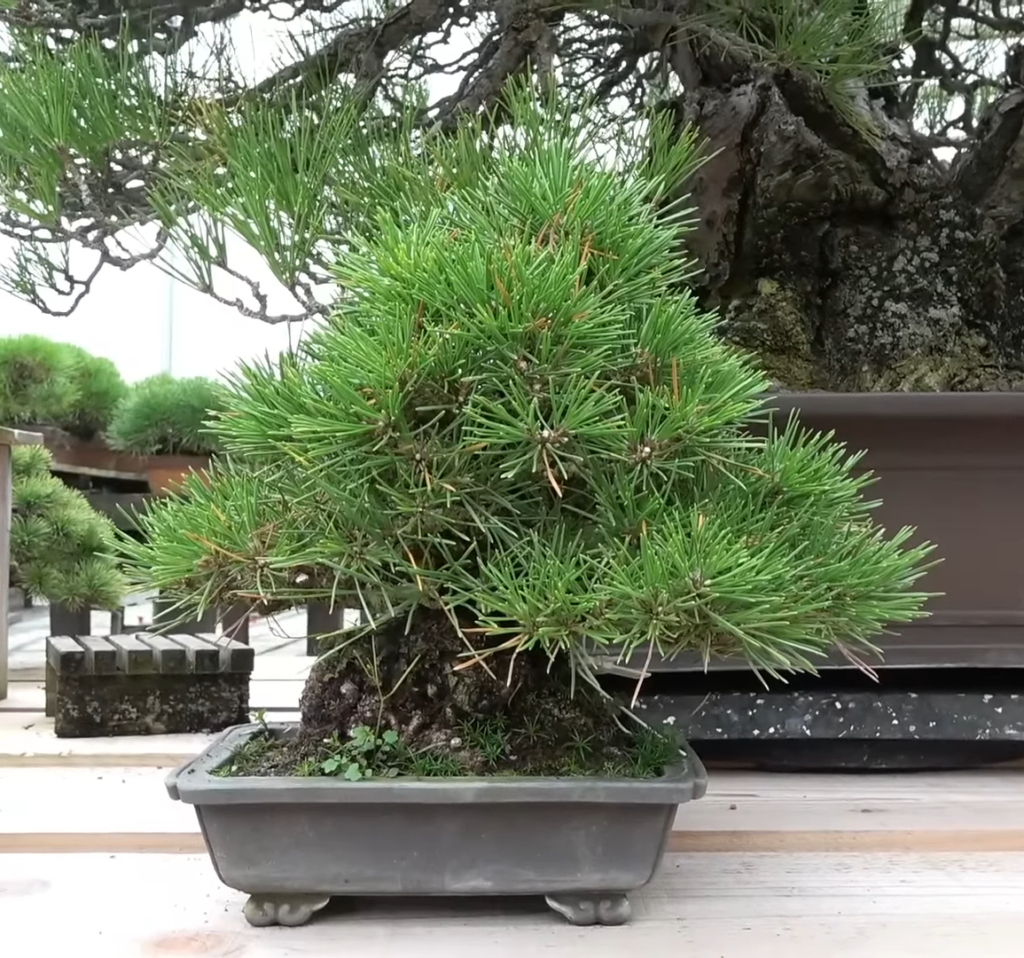
Meet the Japanese Black Pine (Pinus Thunbergii), also known as “The King of Bonsai.” Native to the coastal regions of Japan, this tree boasts a majestic gray bark that resembles armor, coupled with its iconic, attractive needle-like green foliage. What’s great about the Japanese Black Pine is its robustness. Being a multi-flush pine species, it’s an ideal candidate for bonsai cultivation.
This tree can withstand pollution, salty conditions, and even hot weather. Take it from me, living in California’s hot and dry Central Valley, Japanese Black Pines are the stars of my collection. When temperatures soar to 105-110 degrees, I provide them with a little relief using a 30% shade cloth. The key thing to remember is water management – these pines prefer a slightly drier environment. You can adjust watering or fine-tune your soil mix to cater to their needs. Now, let’s get right into the seasonal care guide for your Japanese Black Pine.
Spring
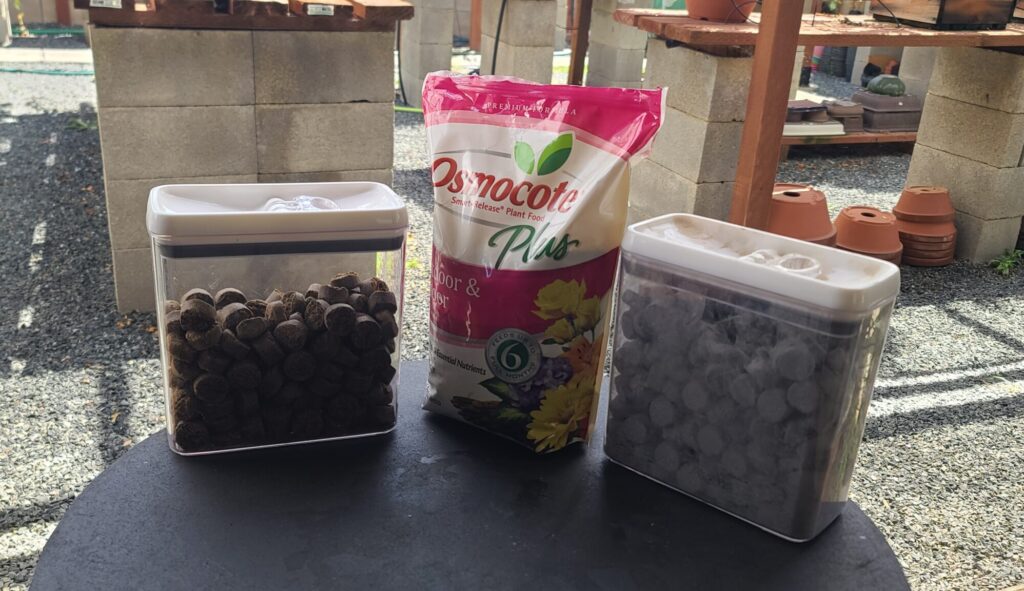
Fertilizing: As early as February, you can start fertilizing your developing and refined black pines. For those in the development phase, fertilizing is recommended from spring through fall. As for refined or mid-developing black pines, cease fertilization before the de-candling process begins in summer. This ensures your tree is in excellent shape for the upcoming de-candling.
Repotting: In regions like mine, February is prime time for repotting, just as the tree starts showing green growth on its winter-brown needles. If your tree is healthy, don’t hesitate to prune up to 50% of its roots. Focus on trimming downward-growing roots while retaining the lateral ones.
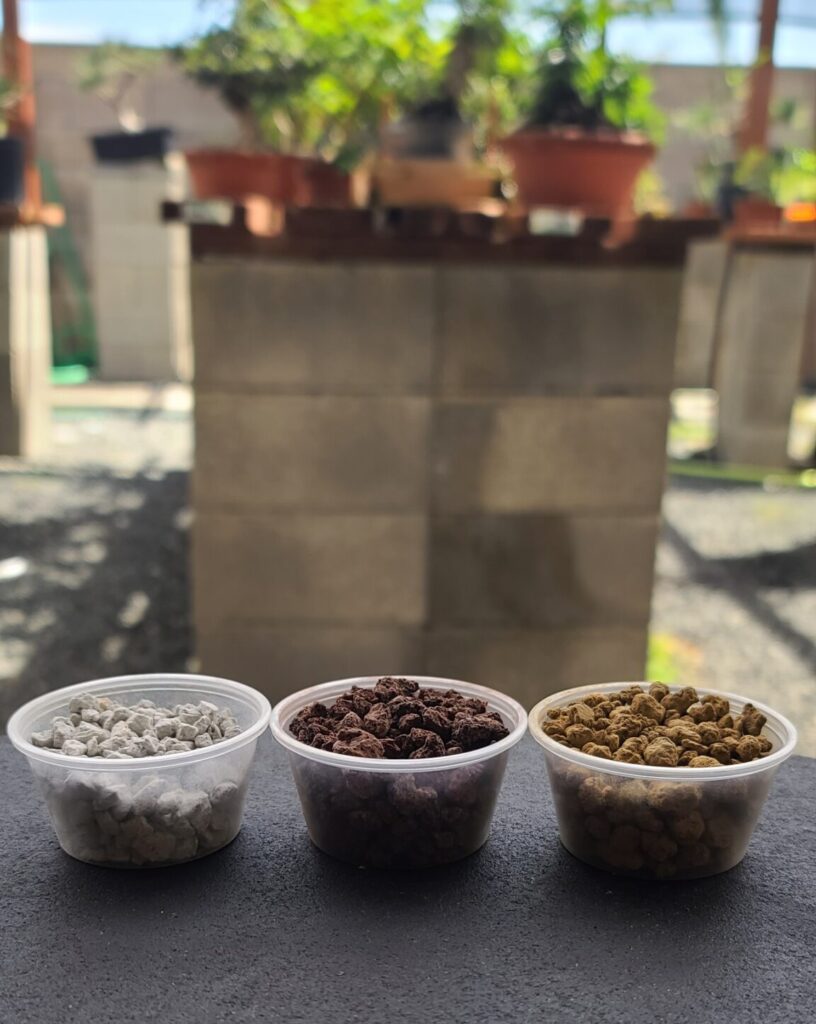
Soil Mixture: Tailor your soil mixture to your climate. In my dry and hot area, we blend equal parts of akadama, lava rock, and pumice for refined black pines. For trees in development, we opt for a mix of 1 part akadama to 2 parts each of lava rock and pumice.
Watering: Remember, Japanese Black Pines prefer slightly dry conditions. As a rule of thumb, gently dig about an inch into the soil – if it’s dry, it’s time to water. Skip watering if the soil feels damp. For more watering insights, check out our guide at (Watering Conifer Bonsai Trees).
Pest and Disease: These pines are sturdy, but keep an eye out for needle cast. In my experience, this usually disappears on its own after a few months.
Pruning and Thinning: During repotting, prune away unnecessary branches and thin out needles. This balancing act promotes even growth across the tree.
Wiring: When pruning and thinning, seize the opportunity to wire essential branches. It’s also an excellent time to wire young Japanese Black Pines.
Summer
Fertilizing: Maintain fertilization for developing trees. However, pause fertilizing refined trees about a month before the de-candling process starts. This will prevent new buds from producing overly large needles, which defeats the purpose of de-candling.
Watering: Stick to the spring watering approach, adjusting as necessary due to the changing climate.
Pest and Disease: Be wary of spider mites during summer. If you’re not seeing any issues, avoid spraying. If past experience indicates a likelihood of spider mite presence, begin spraying a month in advance. Switch up your sprays to prevent mites from building resistance.
Decandling and Thinning: The highlight of summer care is de-candling your black pine for improved ramifications. Simplicity is key – remove all the needles (small, medium, and large). Thin the remaining needles, leaving 5-12 pairs.
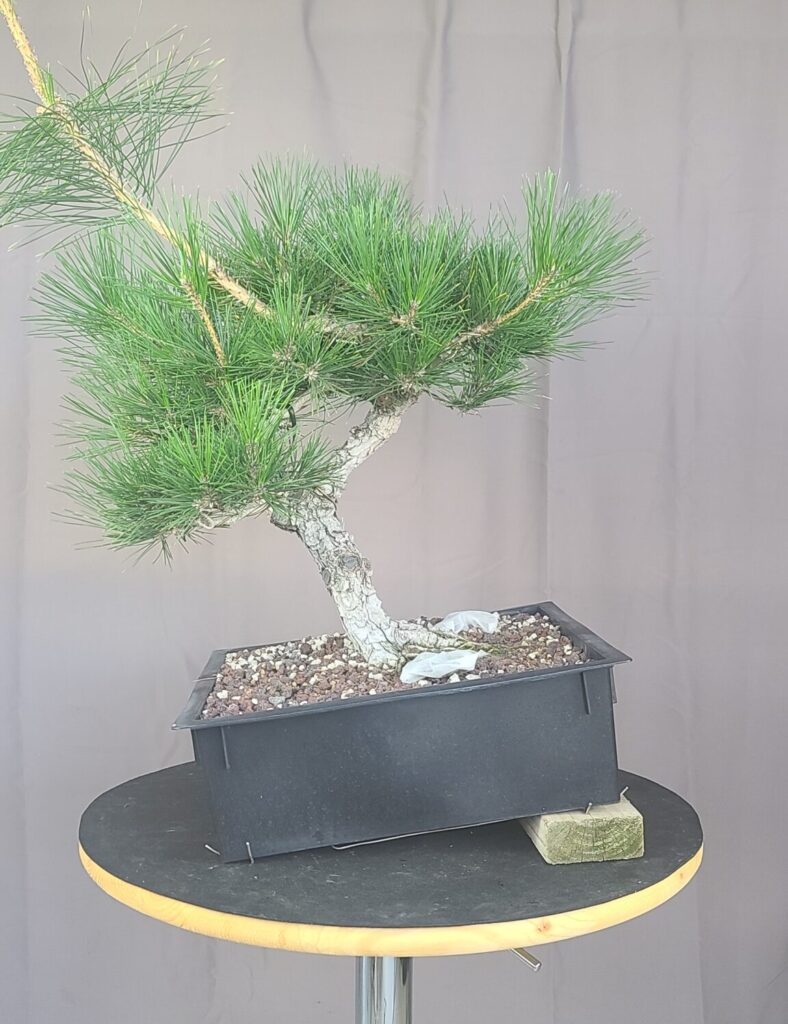
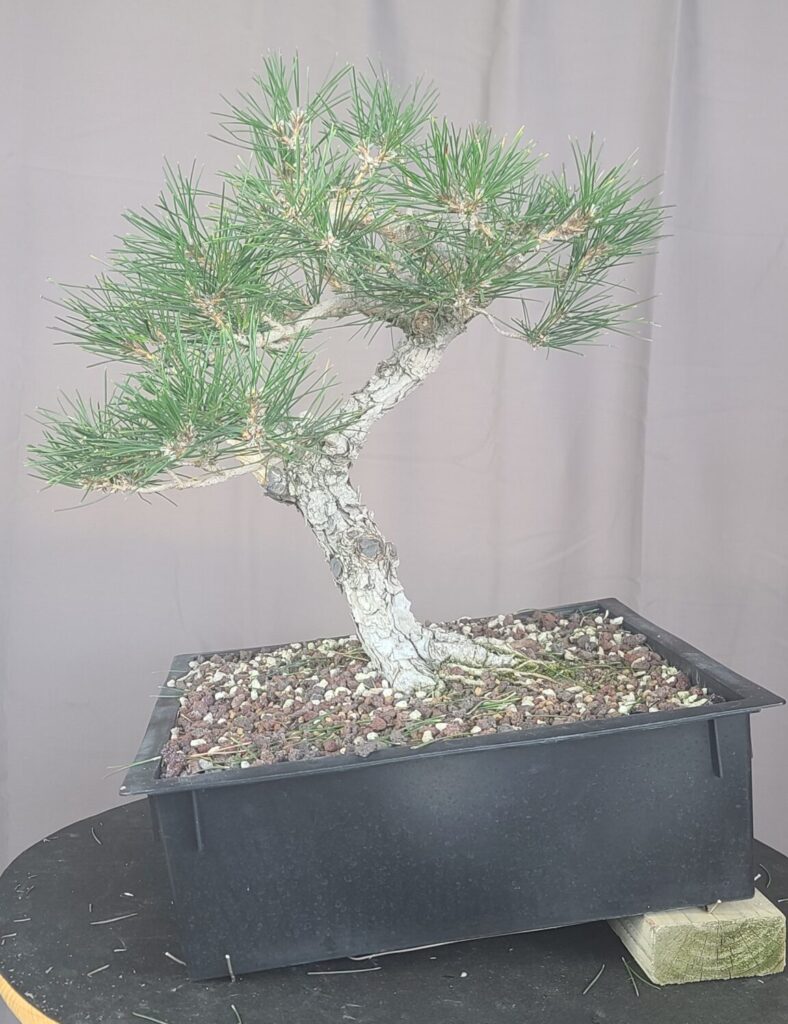
Pruning: While de-candling, take the opportunity to prune unwanted or sacrificial branches.
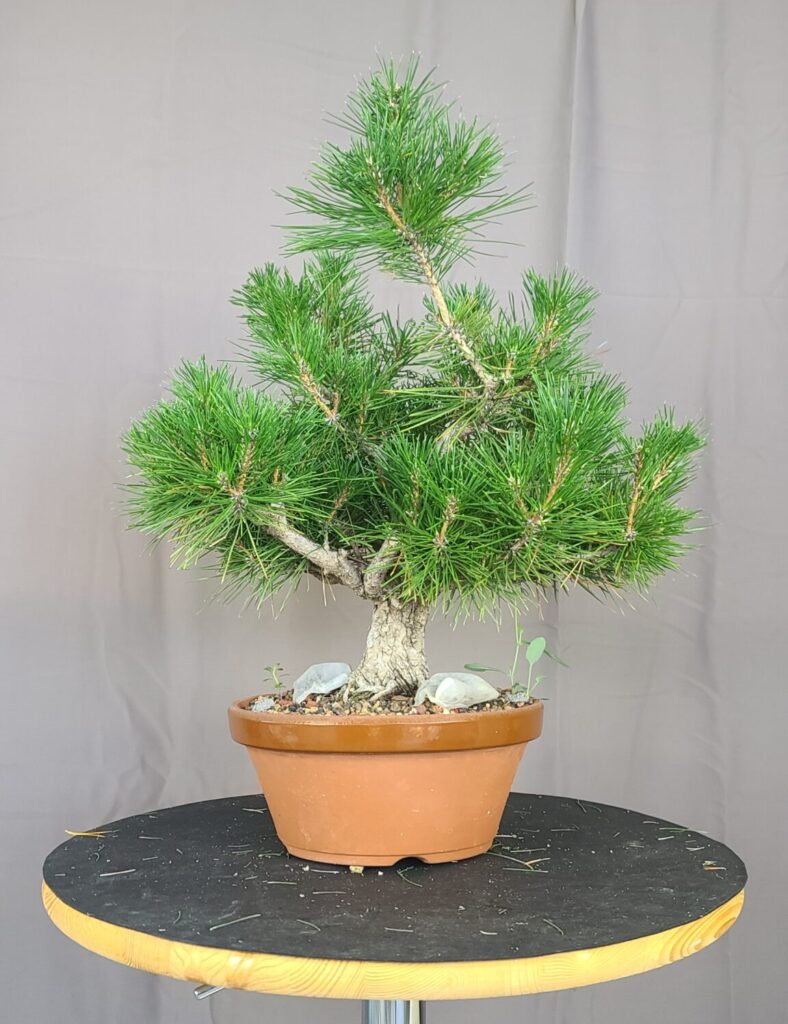
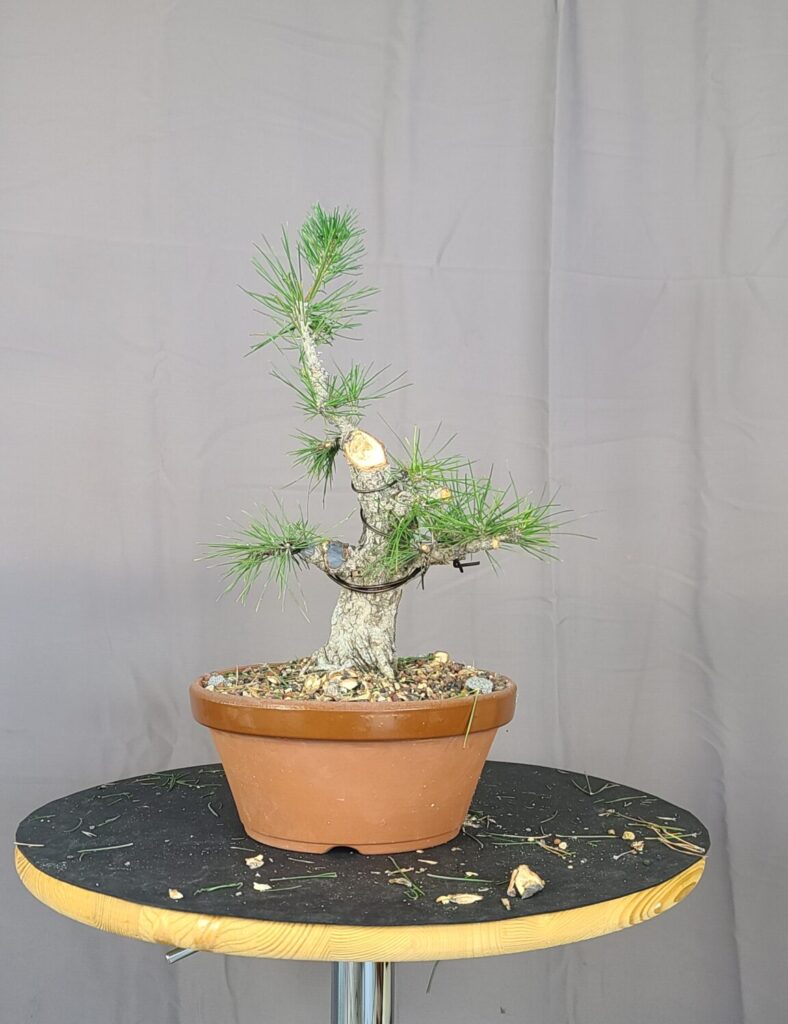
Wiring: With thinning and pruning underway, it’s the perfect time to wire your black pine.
Fall
Fertilizing: Keep fertilizing developing trees. For refined trees, wait until you notice new growth from de-candling – sharp, dark green needles are a sign that it’s time to resume fertilization. Fall fertilization is crucial as it readies the tree for winter.
Watering: Maintain the watering pattern, but expect to water less frequently as the climate cools.
Pest and Disease: Apply fungicide and pesticide as needed. Hold off on spraying in fall to prepare for a comprehensive dormant spray in winter.
Candle Selection: When new shoots appear with dark green and sharp needles, it’s time for candle selection. Remember those cut areas post-de-candling? Trim back to two shoots, avoiding three to prevent joint swelling. This enhances branch ramification and creates a compact, bonsai-like appearance.
Thinning: After candle selection, indulge in some needle plucking.
Wiring: Since thinning and candle selection are in progress, wiring fits seamlessly into the routine.
Winter
Watering: Winter watering is critical. Don’t be fooled by a wet surface – ensure you water your Japanese Black Pine at least once a week to maintain optimal health.
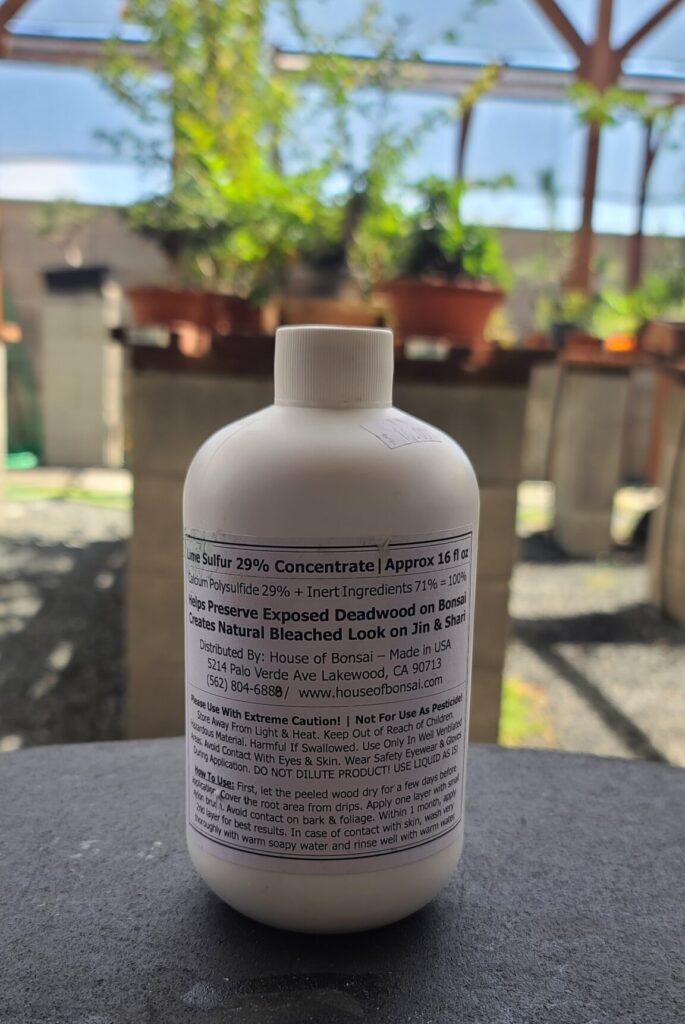
Pest and Disease: Apply dormant sprays like lime sulfur or copper spray. These treatments reset the pest cycle and offer effective fungicidal protection.
The End
Thanks for sticking with us till the end of this guide! Japanese Black Pines might seem daunting initially, but armed with this comprehensive guide, your bonsai journey will be smooth sailing. If you have questions or suggestions, feel free to drop a comment below or shoot us an email at our “Contact Us” section. And remember, our calendar guide is always at your disposal for quick reference.