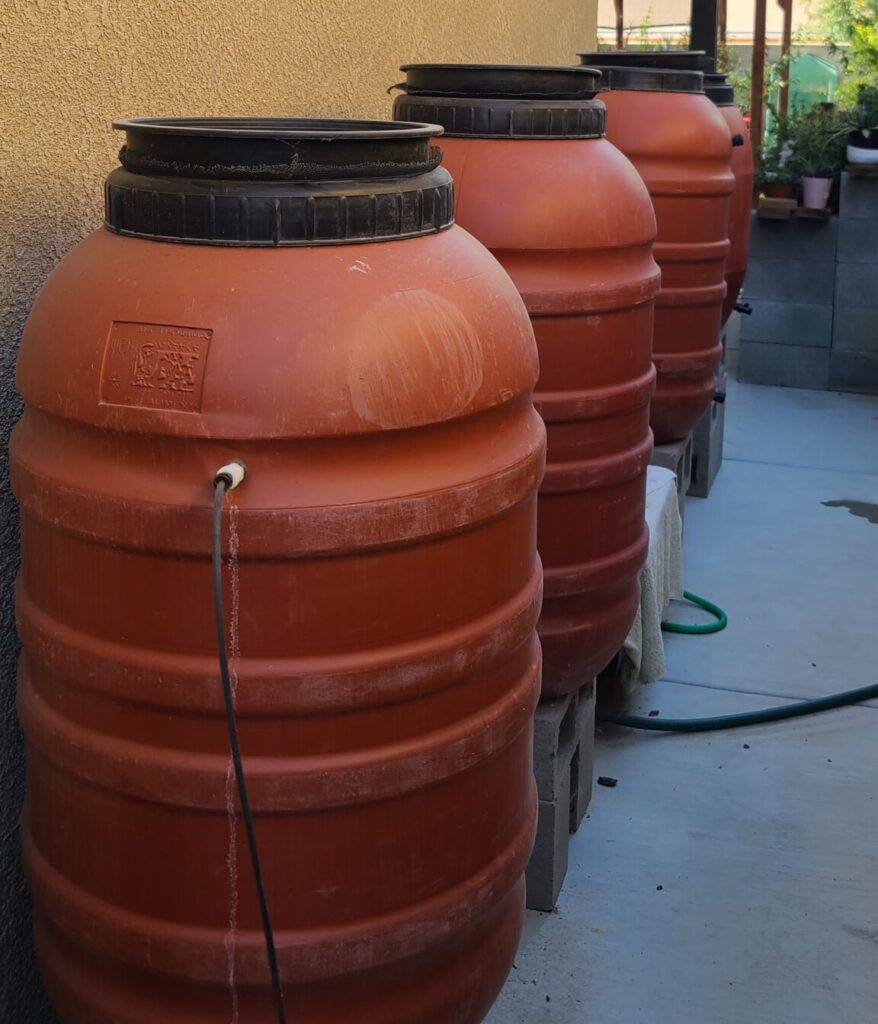
When friends and fellow enthusiasts step into my garden, they can’t help but ask about those imposing gallon drums tucked away beside my house. It’s my personal reverse osmosis (RO) watering system, a true game-changer. If you’ve been following my blog, you might have already read about water quality (How to Grow Bonsai with Reverse Osmosis (RO) Water) and the RO system I choose, giving you a glimpse into the “why” behind my RO watering setup.
I turn on the RO water at night and wake up to find four massive barrels brimming with water ready to quench my bonsai trees’ thirst all day long. Since my garden isn’t sprawling, this setup suits me perfectly. However, if I had an expansive garden, I’d probably scout for a location with better water quality rather than investing heavily in an RO system. Join me as we delve into the nitty-gritty of materials, setup, and costs, helping you determine if this approach aligns with your bonsai garden dreams.
Bonsai Reverse Osmosis Setup Guide
Table of contents:
*click above to jump to the topic
Introduction
Achieving the good bonsai takes dedication and attention to detail, and the quality of water you use is a key ingredient. With local water quality soaring to a peak of 577 PPM during summer (take a look here: Guide to Bonsai Water Quality), I wasn’t always an advocate for RO water. However, a chat with Ed Clark, a local bonsai guru, changed the game. His garden boasted trees thriving at a mere 28 PPM without RO water.
Importance of RO Water
If you’re new to the world of RO water, let’s take a moment to understand its significance. When tap water quality is subpar, RO water steps in as the superhero. It effectively eliminates impurities and high Total Dissolved Solids (TDS), leaving you with a clean canvas for nurturing your bonsai trees. And my personal experience supports this claim – Ed’s advice was a turning point, leading me to discover the wonders of RO water.
Components
To embark on your RO watering journey, here’s a list of crucial components that will make your setup efficient and effective:

RO System: The heart of the operation. I’m a staunch supporter of the Growonix GX200 – get the full scoop in my dedicated blog post (Click here to learn more about Growonix GX200).
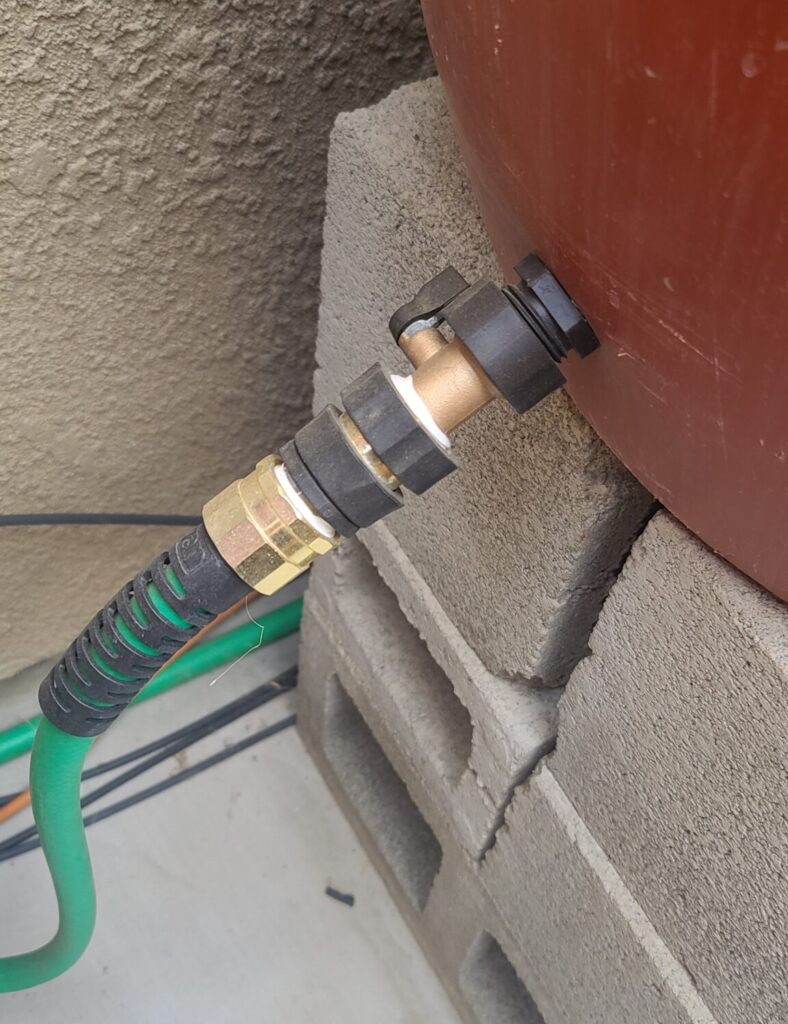
Water Barrels: You need a reliable storage solution for your RO water, and options like the Terra Cotta Rain Barrel from Home Depot fit the bill. It comes with a valve for easy hose connection and a net-covered top for quick water level checks.
Garden Hose Connectors & Splitter: These connectors are the glue that holds your setup together. Don’t forget to pick up some Teflon tape to prevent those pesky leaks.
Quick Connects: This unsung hero simplifies barrel cleaning – it allows you to smoothly remove water barrels from hoses, a tiny yet crucial feature.
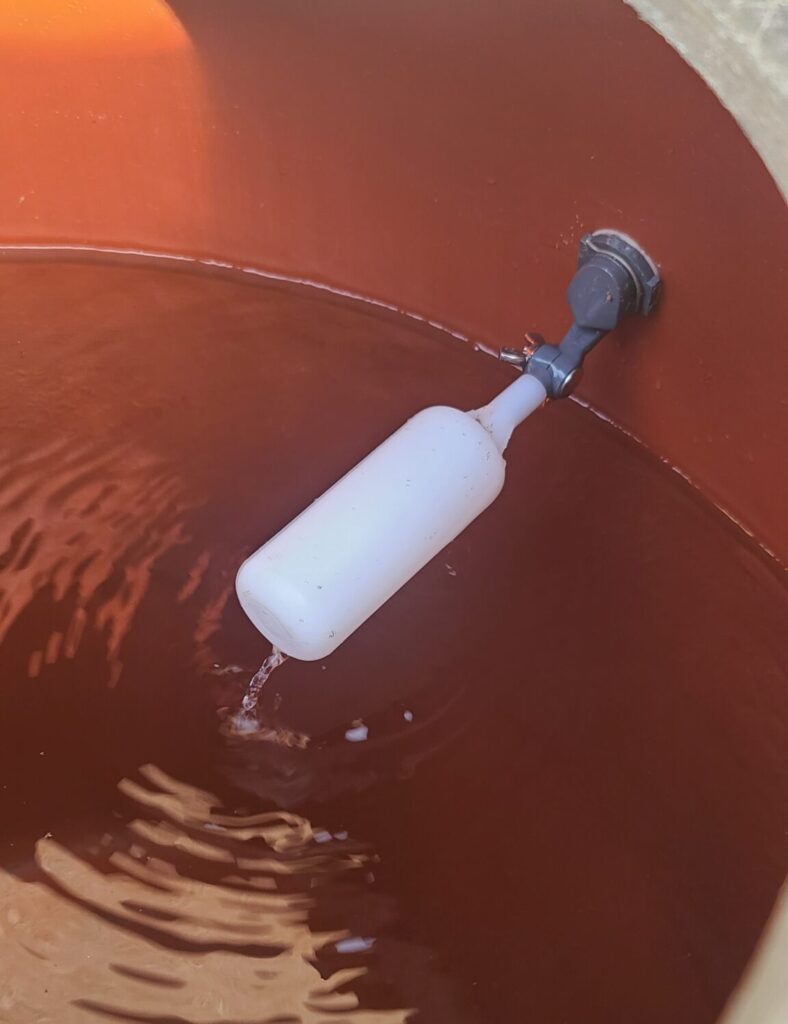
Float Valve: While not mandatory, I recommend including a float valve. It prevents overflowing by shutting off the RO water supply when the barrels reach capacity.
Polytubes: These tubes bridge the gap between your RO system and the water barrels. You can find these at your local home improvement stores, along with options like shutoff valves.
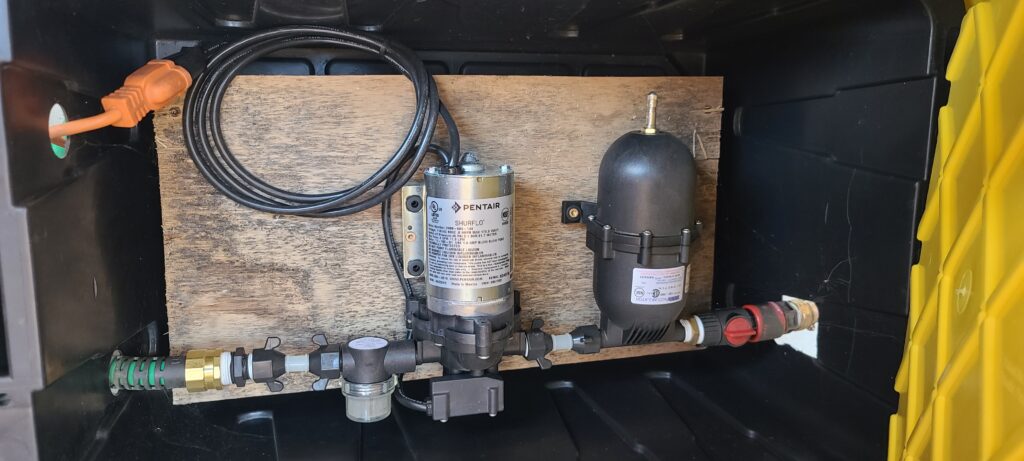
Water Pump: For a smaller garden like mine, the Shurflo pump fits the bill perfectly. For larger setups, explore beefier pump alternatives.
Accumulator Tank: Bid farewell to water pulses by adding an accumulation tank to the mix. This ensures a smooth water flow, which ultimately extends the life of your pump.
Strainer/Filter: Guard your pump against debris with this filter. It acts as a gatekeeper, only allowing clean water to flow through.
Swivel: This connector is your bridge, linking the pump, regulator, and filter/strainer seamlessly.
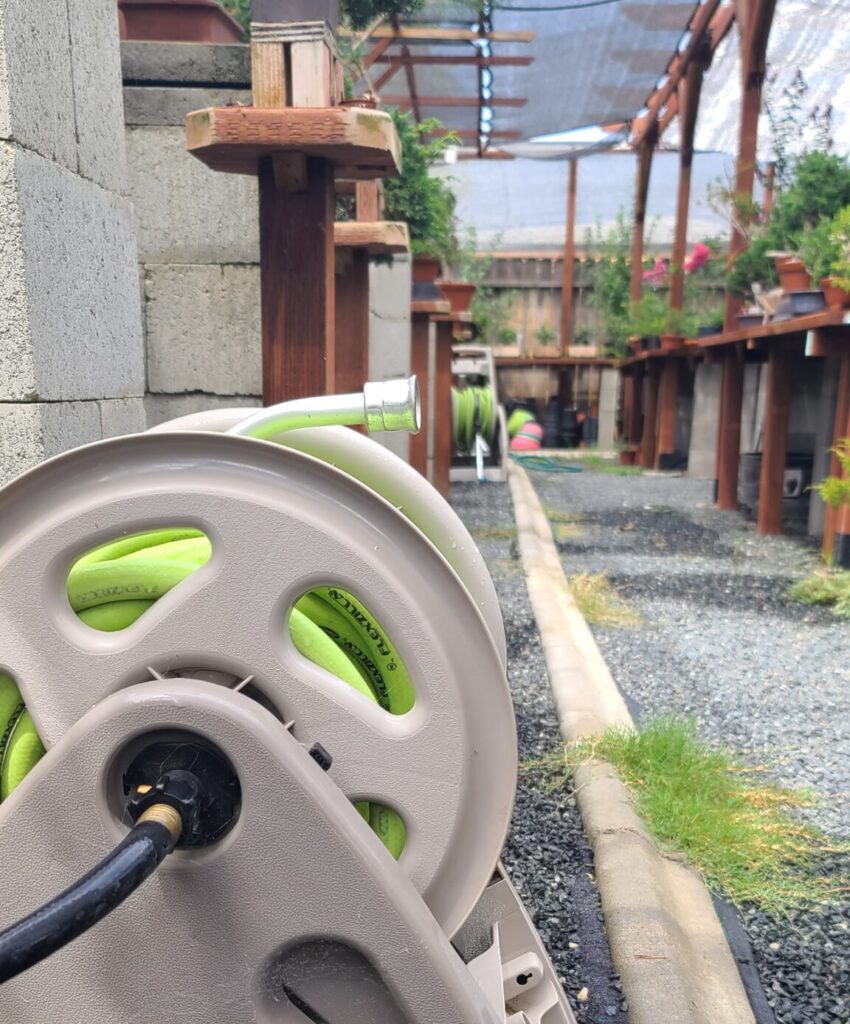
Garden Hose: When it comes to hoses, Flexilla is my go-to. Discover why it’s the perfect match for your bonsai garden in this dedicated blog post (Best Bonsai Hoses).
Setup
Now that you have your arsenal of components, it’s time to bring your RO watering system to life. While your garden’s layout might differ, I’ll provide you with a visual walkthrough of how I’ve organized my setup. This insight will spark ideas and guide you through the process of tailoring your setup to your specific needs.
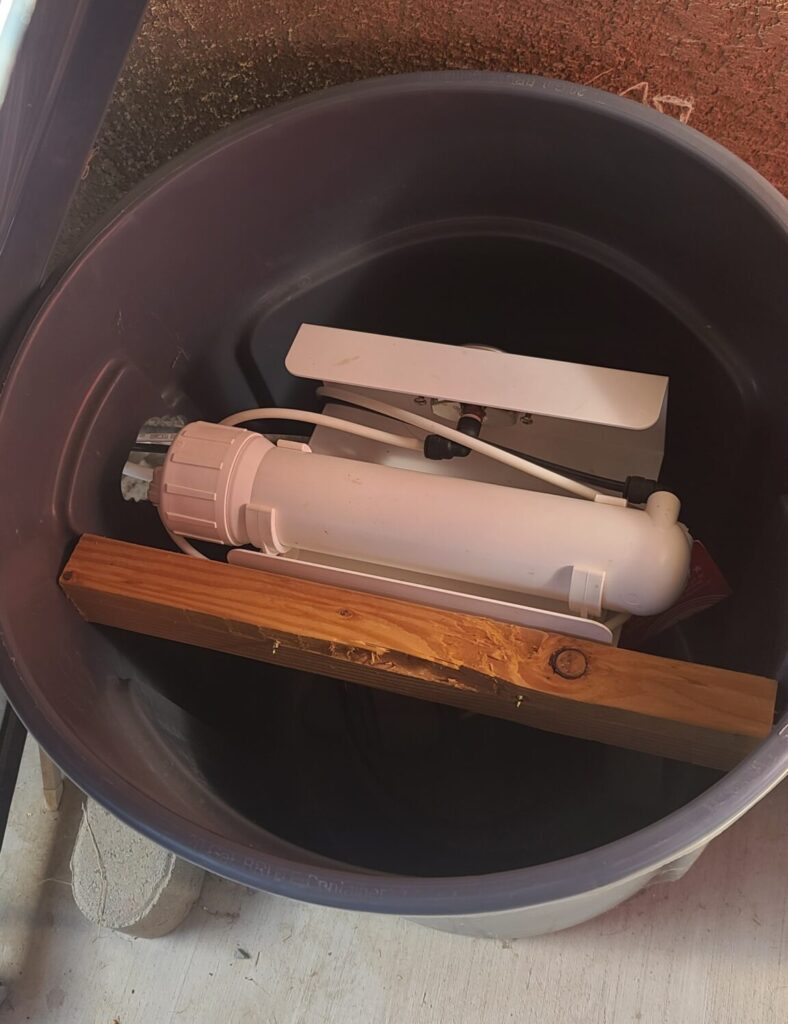
RO System Setup: Safeguard your valuable RO system by housing it within a garbage drum. This protective measure shields the system from outdoor elements, significantly extending its lifespan.
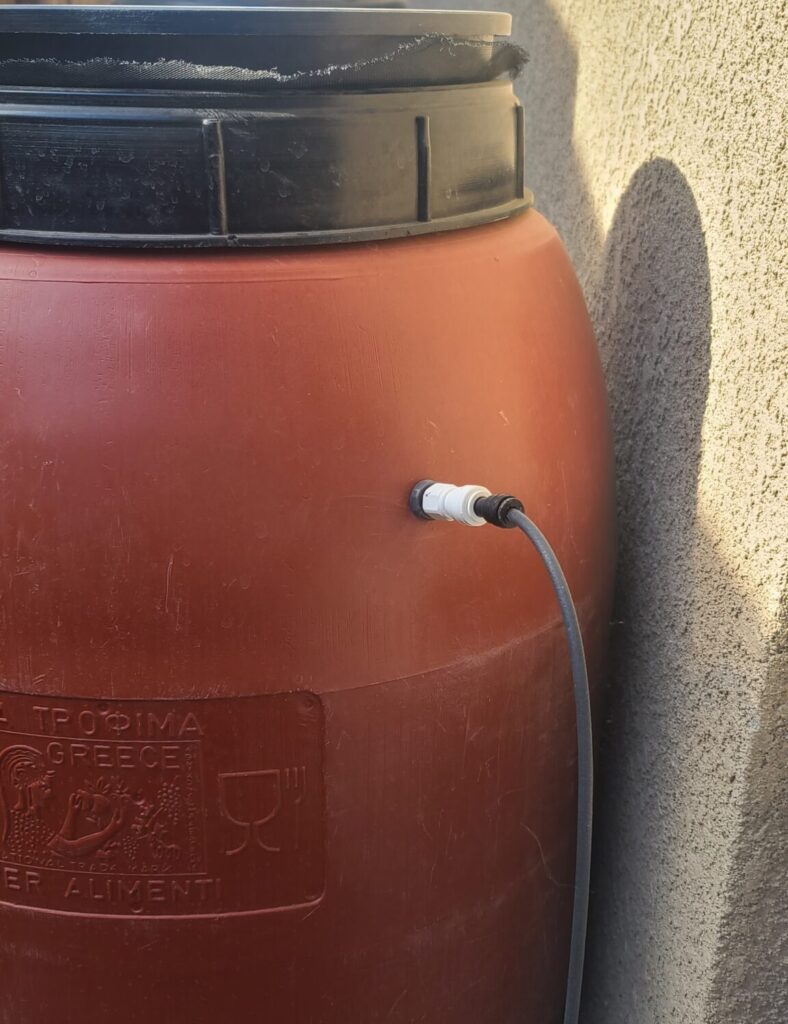
Water Barrel Setup: Elevate efficiency by positioning the float valve at the top. When the barrels reach capacity, the float valve shuts off the RO water supply automatically. Keeping all barrels at the same level ensures uniform filling. Hose connectors bridge the barrels and the pump seamlessly.
Pump Setup: Just as with the RO system, shield your pump from the elements by placing it within a plastic storage unit. This protective measure ensures your pump operates smoothly despite weather fluctuations.
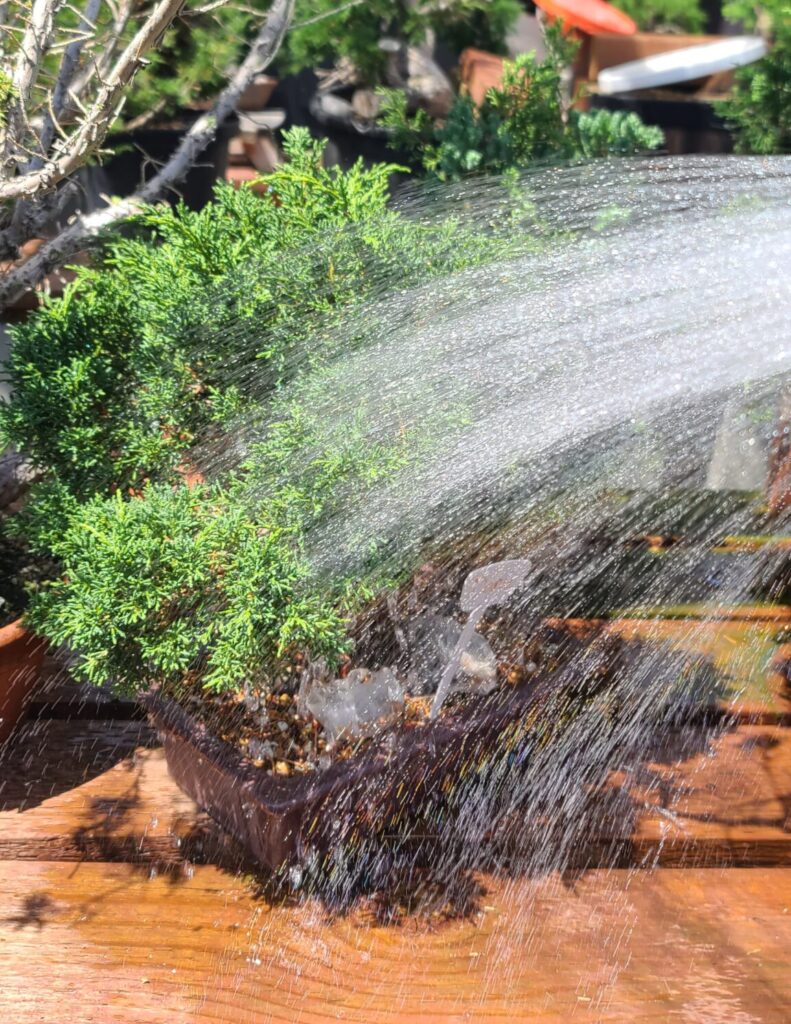
Hose: This is the triumphant finale where your bonsai trees receive the clean, nourishing water they deserve. Connect the hose, and watch your trees thrive.
Conclusion
In the realm of bonsai care, water quality reigns supreme. If your tap water quality leaves much to be desired, investing in a reverse osmosis system for your bonsai garden is a game-changing decision. Bid farewell to the troubles of high TDS levels, and usher in an era of clean, nutrient-rich water for your trees. I hope this guide has illuminated the path to setting up your own RO watering system. Feel free to reach out via email or comments if you have any questions. After all, your bonsai trees deserve the utmost care and attention, and an RO watering system can help you achieve just that.