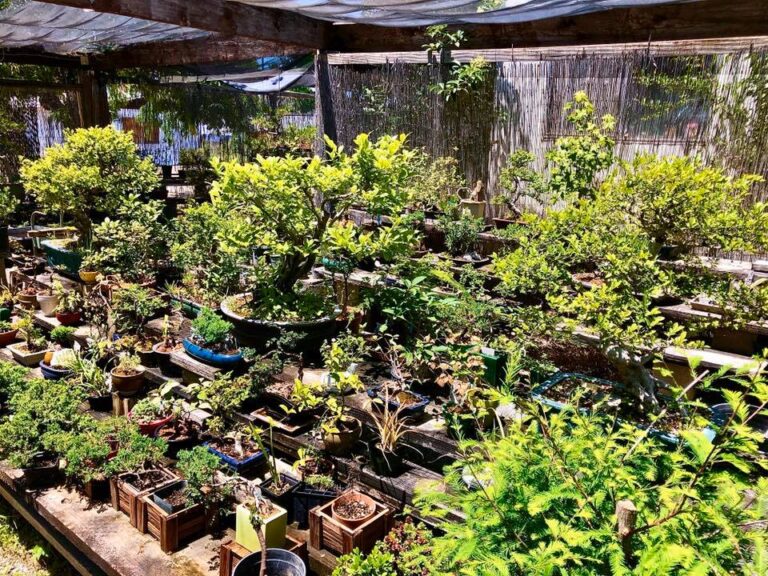
Picture this: I ventured into Fresno to explore the wonders of Nee-Hai Bonsai, a delightful nursery nestled in the heart of the Central Valley. Curiosity led me to seek advice from the nursery’s owner, Grey Andreson, on the ideal bonsai for beginners. As a newbie myself, I was eager to learn. Grey offered two options—elms or olive trees. While his tales about elms left an impression, it was his olive tree story that truly captivated me.
Grey shared the tale of his extraordinary bonsai, born from a stump with no roots. He planted it in soil, meticulously crafting an exquisite raft-style olive bonsai. What stuck with me most was his profound quote: “You can’t kill an olive.” Those words embedded themselves in my memory, becoming part of my treasured bonsai knowledge.
Now, fast forward to 2023. Curiosity led me to Los Angeles, where I had the pleasure of meeting Tom Voung—an esteemed bonsai expert highly recommended to me. My purpose for seeking Tom’s guidance? To add 2-3 yamadori to my growing collection. Let me tell you, Tom’s garden was a sight to behold! Amidst our tour, I laid eyes on a remarkable olive tree. Tom revealed that what I marveled at was actually the root system of the olive tree, planted upside down to create a visually striking bonsai. Excitedly, I filed this valuable information away, ready to apply it in the future when I acquired my own olive treasure.

And guess what? Fate intervened when I stumbled upon a Facebook marketplace post offering ancient olive trees from a grove for sale. I inquired about a price, and to my surprise, the seller offered me a fantastic deal, unaware that all I desired was a humble stump. Eagerly, I ventured to the grove, discovering that this remarkable grove had been in the owner’s family for almost two generations. They were now making space for a new home. Curiosity got the best of me, and I asked the owner for an estimate of the tree’s age. Astonishingly, it was close to a century old.

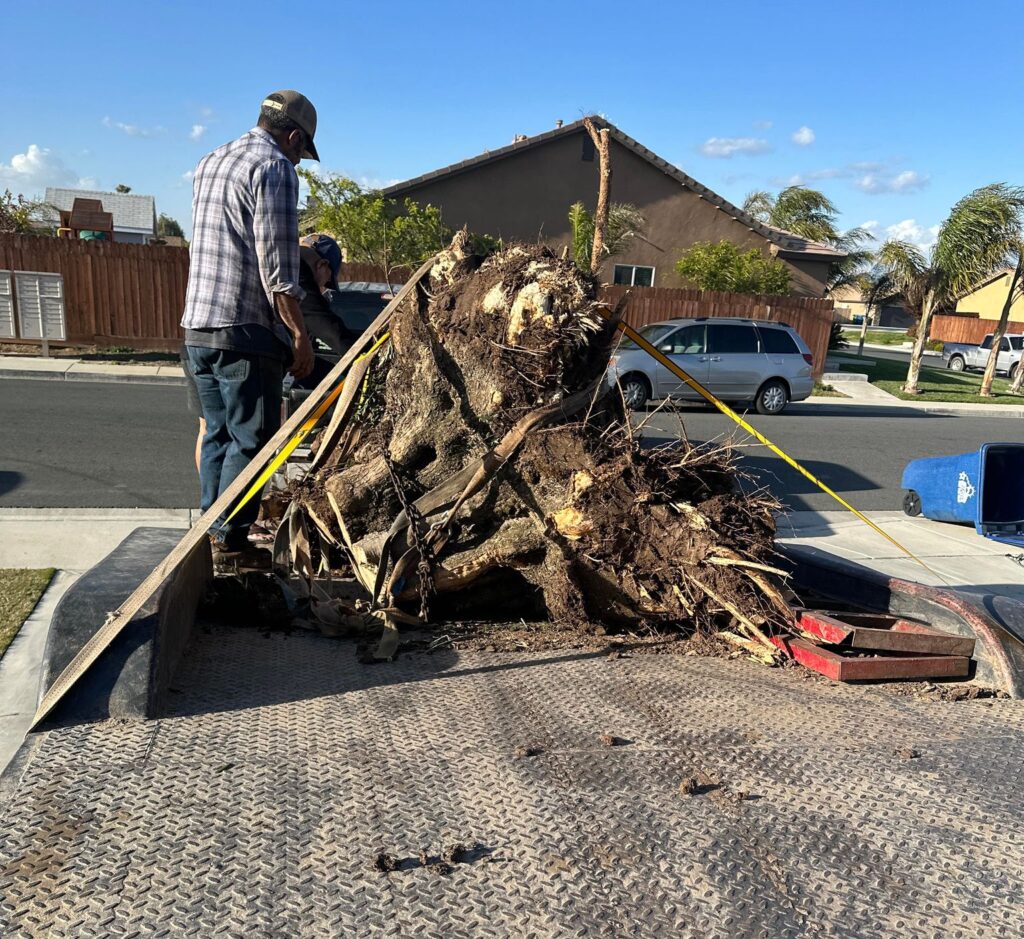
I selected a tree from the grove, eagerly awaiting its arrival at my doorstep. But when it finally arrived, it proved larger than I had anticipated. Seeking assistance, I asked the delivery person to carefully chainsaw it into a more manageable size, suitable for bonsai cultivation.
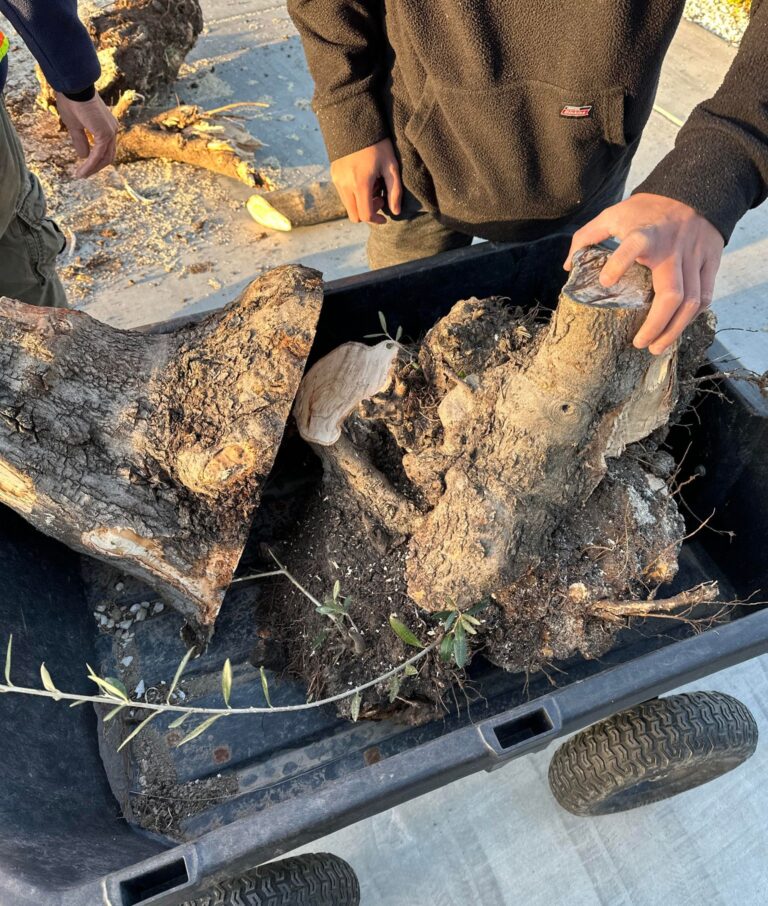
Let’s dive into the step-by-step journey I embarked on upon receiving the olive stump:
Potting: Without delay, I carefully placed the stump into a pot filled with high-quality potting soil, ensuring it had a sturdy foundation.
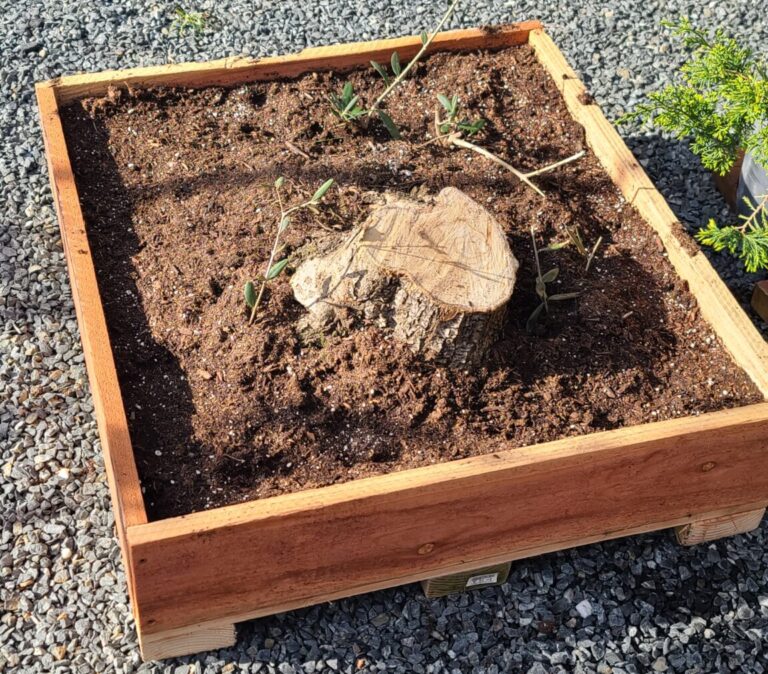
Humidity Boost: Drawing from the wisdom shared by Tom Voung, I covered the stump with plastic to enhance humidity. I watered it sparingly, only once, while diligently checking the soil moisture every other day.
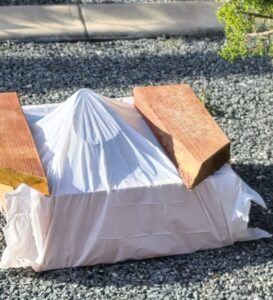
Budding Success: After a few months, I was taken aback by the sight that greeted me—all four stumps I had potted displayed buds! Overjoyed and ecstatic, I realized that by applying the simple lessons imparted by bonsai legends, I had successfully transformed stumps into thriving olive bonsai. The question now lingered—what was the next step?
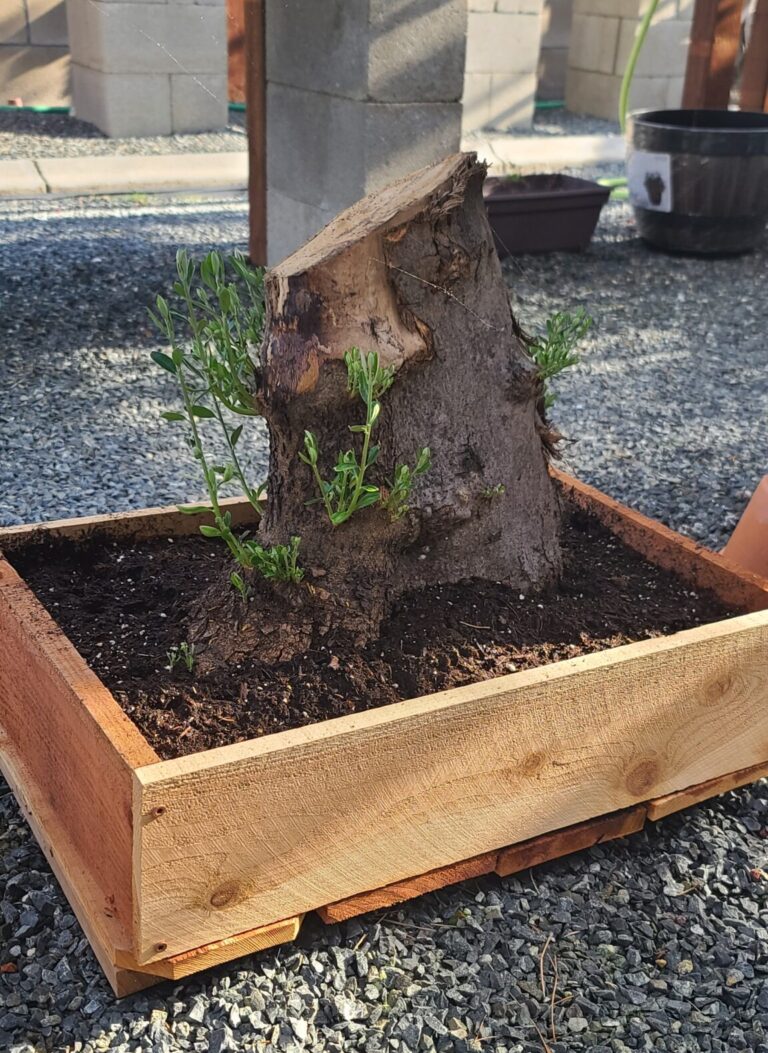
Gradual Transition: You may be wondering when to remove the plastic bag covering the stumps. Here’s a handy tip: Keep the plastic bag in place until you observe 6-10 shoots emerging. This indicates that the bonsai is moving in the right direction. At this point, you can gradually introduce it to sunlight by placing it in a shaded area. After 2-3 weeks, the olive bonsai should be ready to handle full sun exposure.
That concludes today’s adventure! Thank you for joining me on this journey, and I hope you enjoyed this post as much as I did. Until next time, happy bonsai growing!
